This guide was kindly put together and shared by Barry (@insitedesign) for the community of CAKE Kalk riders.
Disclaimer: This is how I did it. I am not responsible for damages or personal harm if you choose to undertake the BMS swap.
¶ Sourced BMS
The replacement BMS below is apparently more robust, able to take more rigorous use and higher output.
A reputable source:
¶ Tools required
- utility knife
- 2 flat head screwdrivers
- soldering iron
- thin wiring heat shrink tube
- 2 sided tape
- electrical tape
- hex screwdriver
- torx screwdriver
- philips screwdriver
- white silicon sealer
¶ Directions
¶ Opening the case
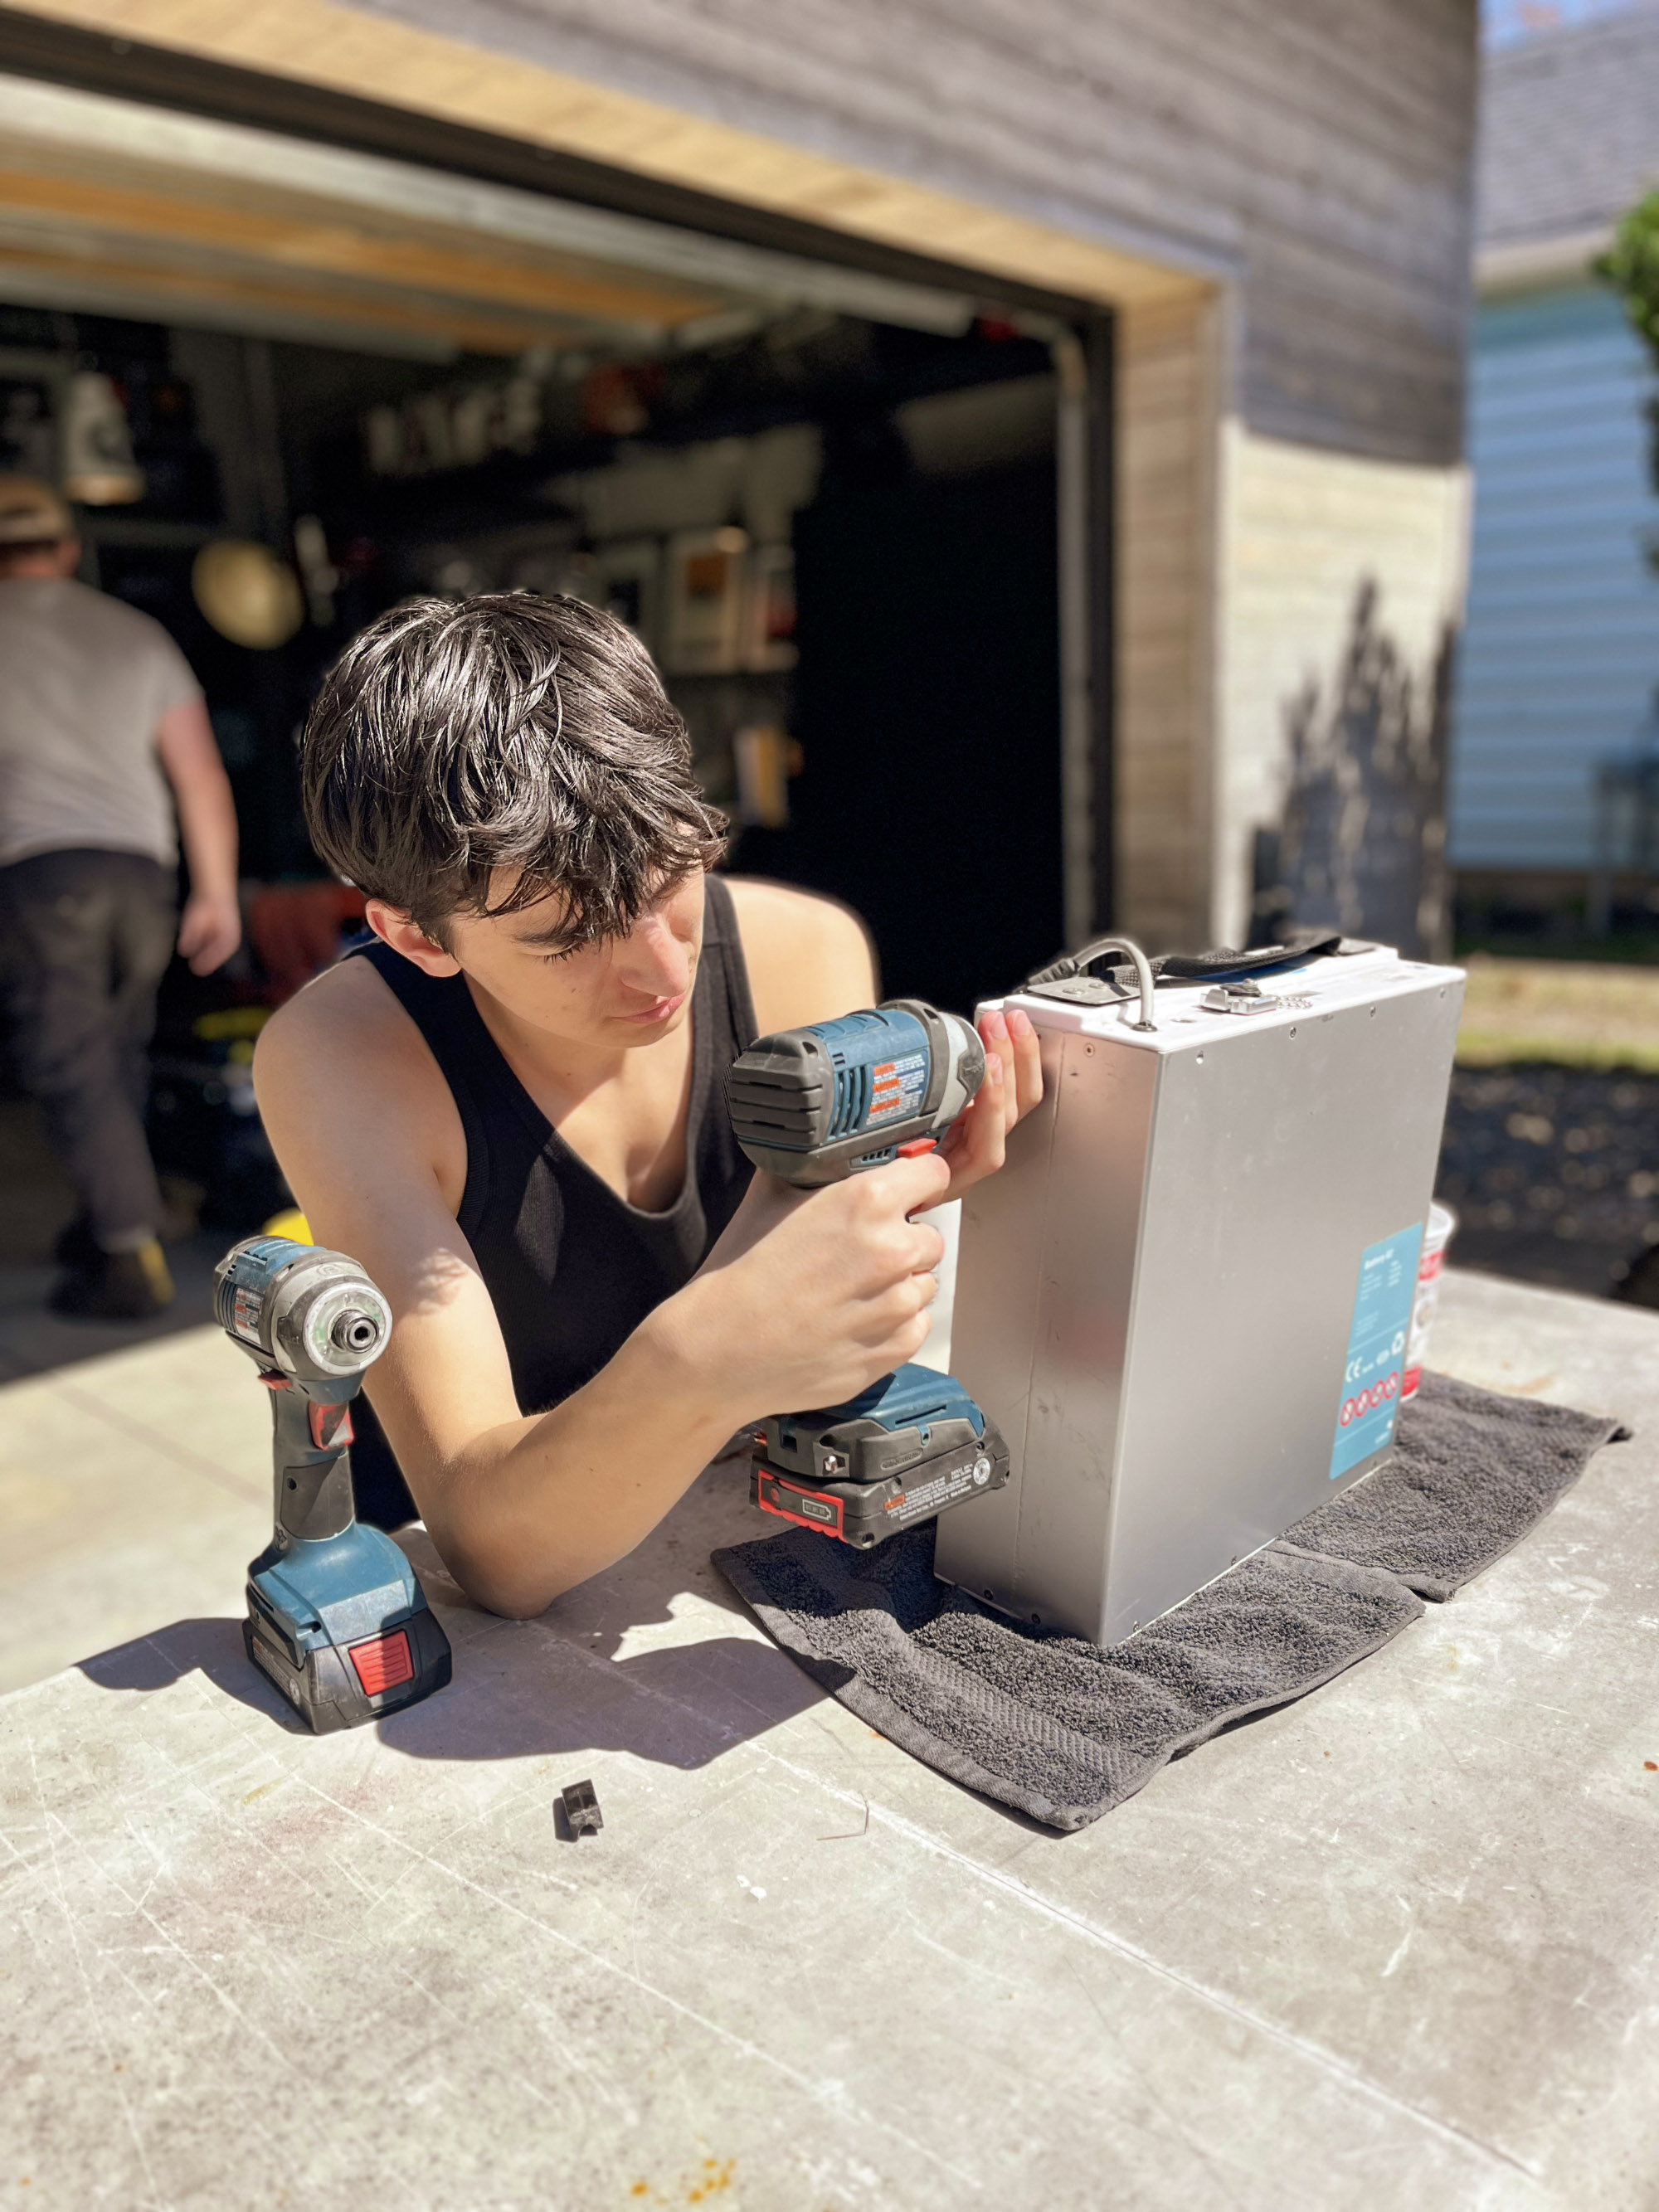
- working somewhere clean and with your phone camera to capture each step so you can reverse the actions
- Remove the case by first removing all the small side screws along top and bottom
- Then, using a utility knife, run the blade along the grove between the aluminum side case and the plastic lid with the goal of slicing through the silicone water proofing
- Go easy and do a few passes so that the silicon flakes out as you go
- Next, with 2 medium fine flathead screwdrivers, pry open an area of the aluminum case at the seam, working in the other screwdriver as you go
- this won’t be too difficult if you’ve adequately cut the silicone seal/glue
- keep prying, it’ll eventually give and become easier and you’ll be able to run the blade of the driver all the way around
- Once that’s done, leave the top on and repeat the slicing/prying technique for the base with the battery on it’s side
¶ Opening the top
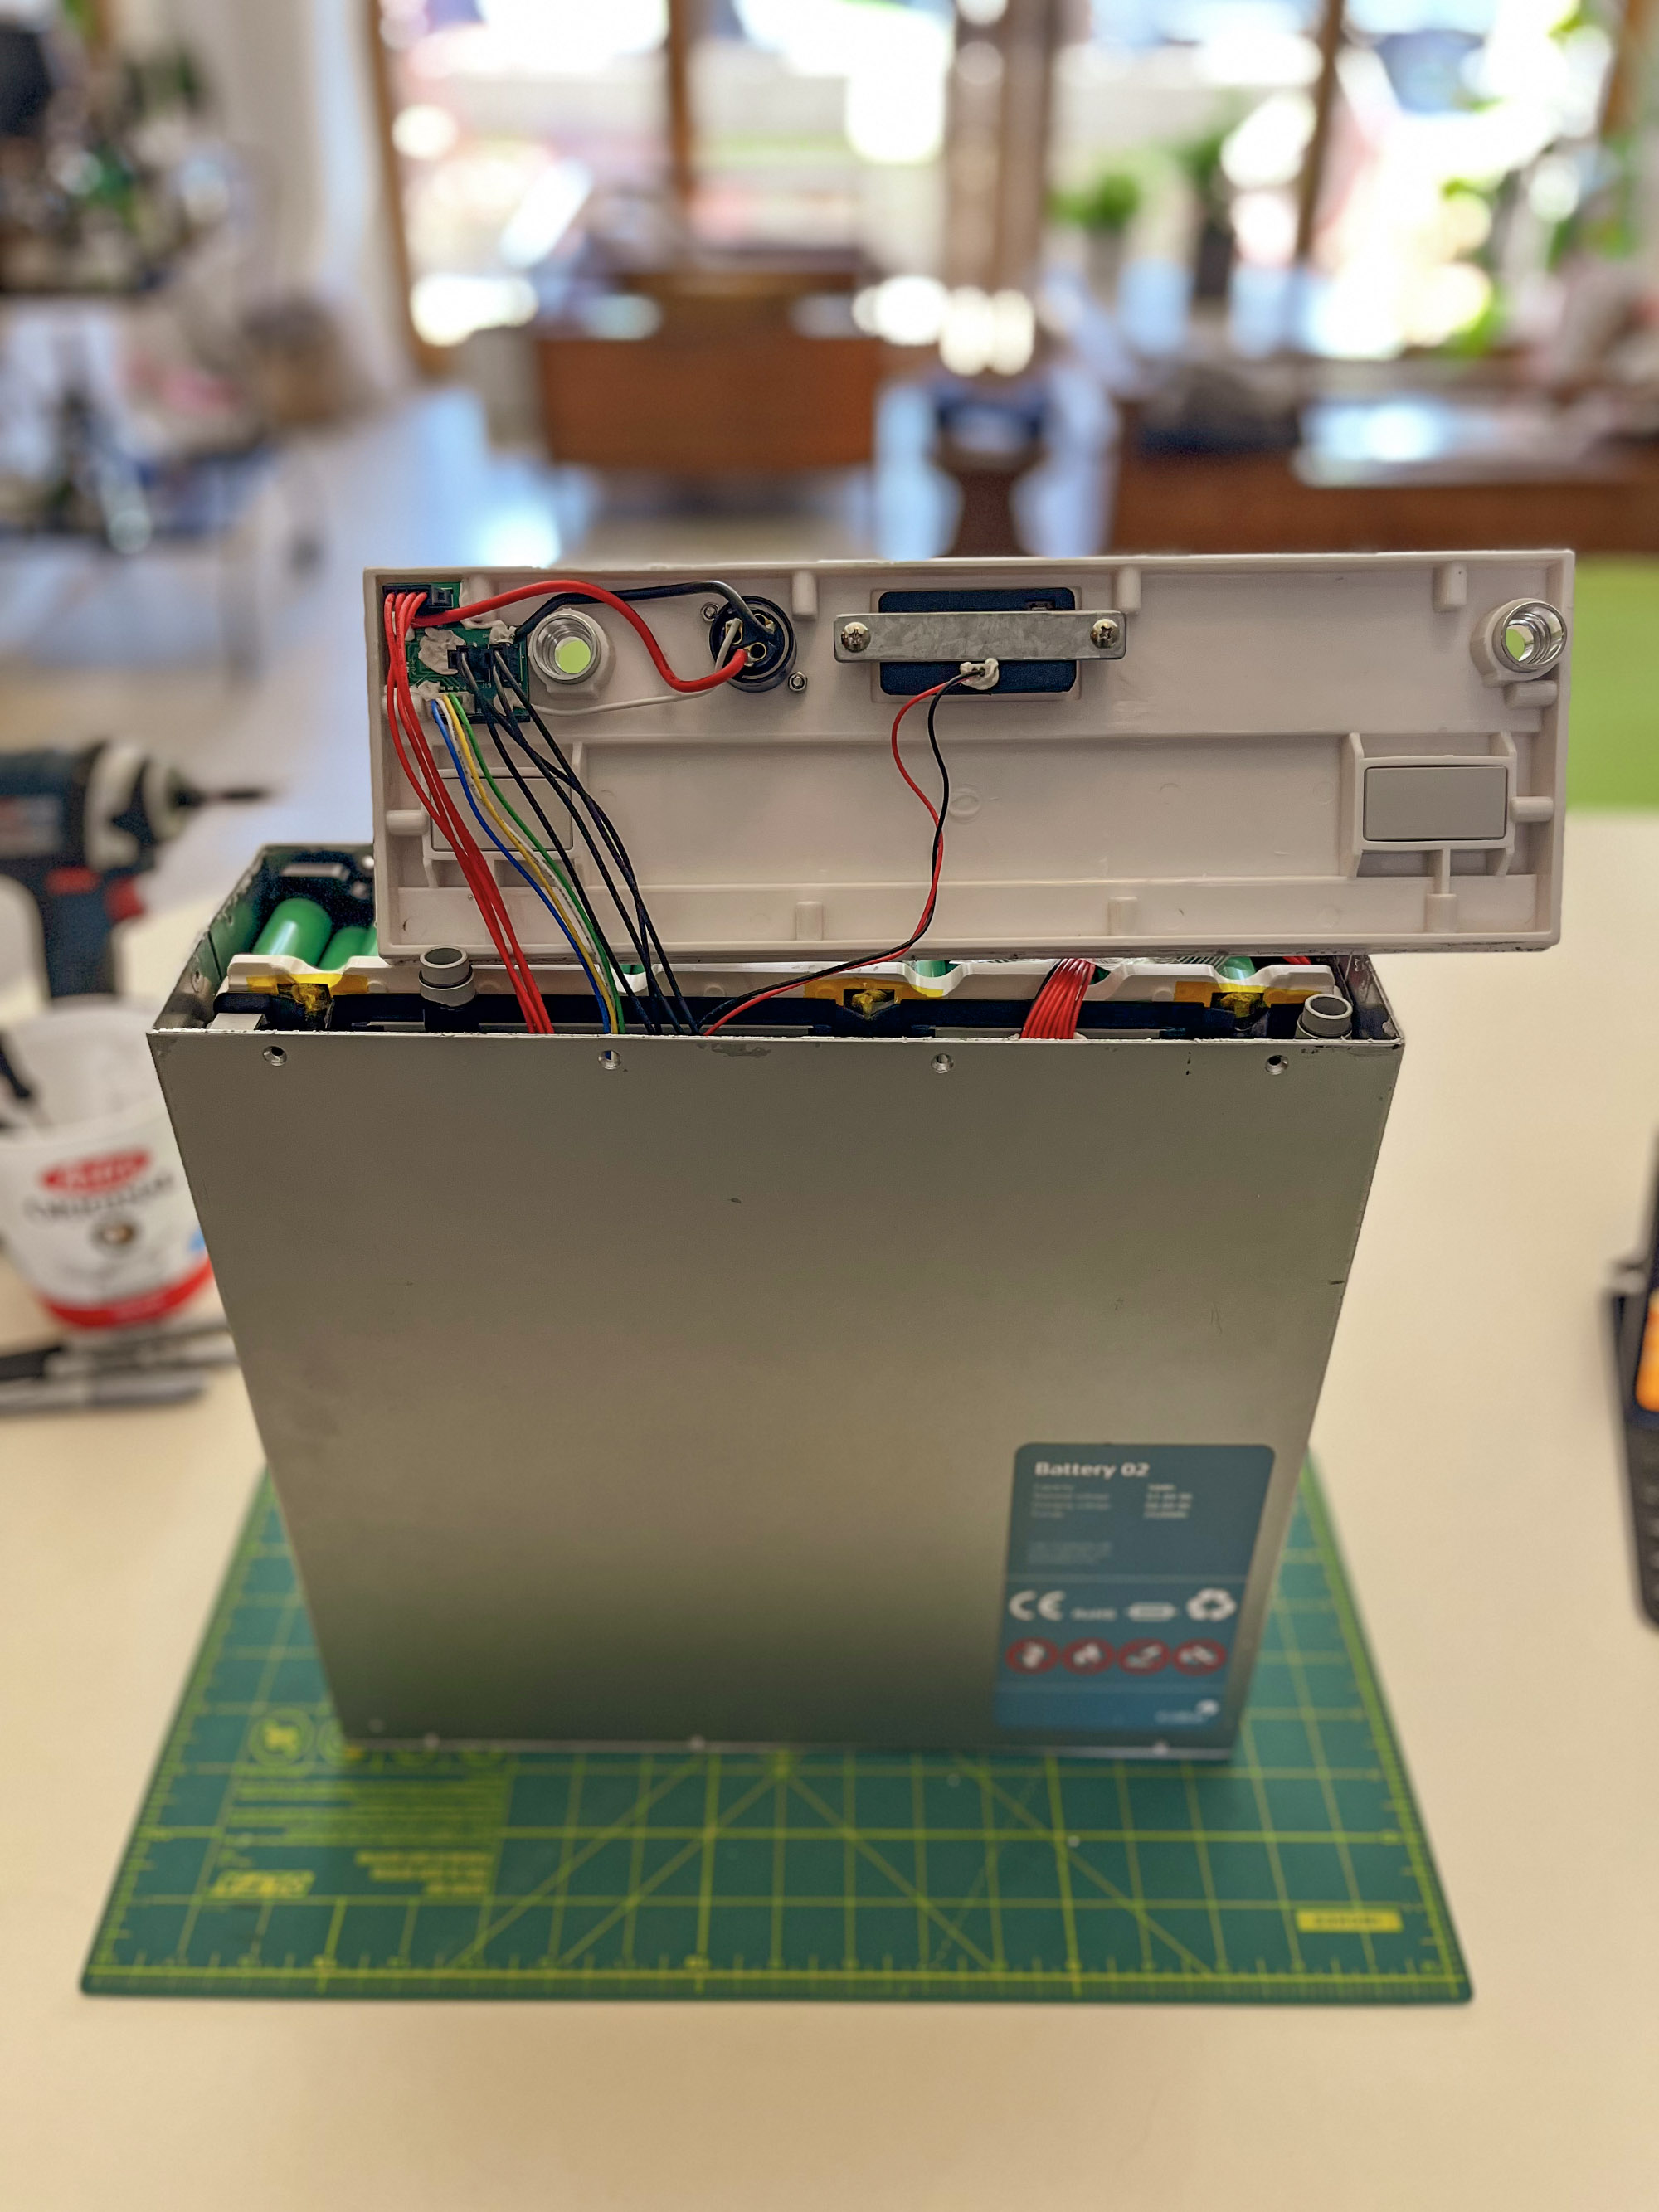
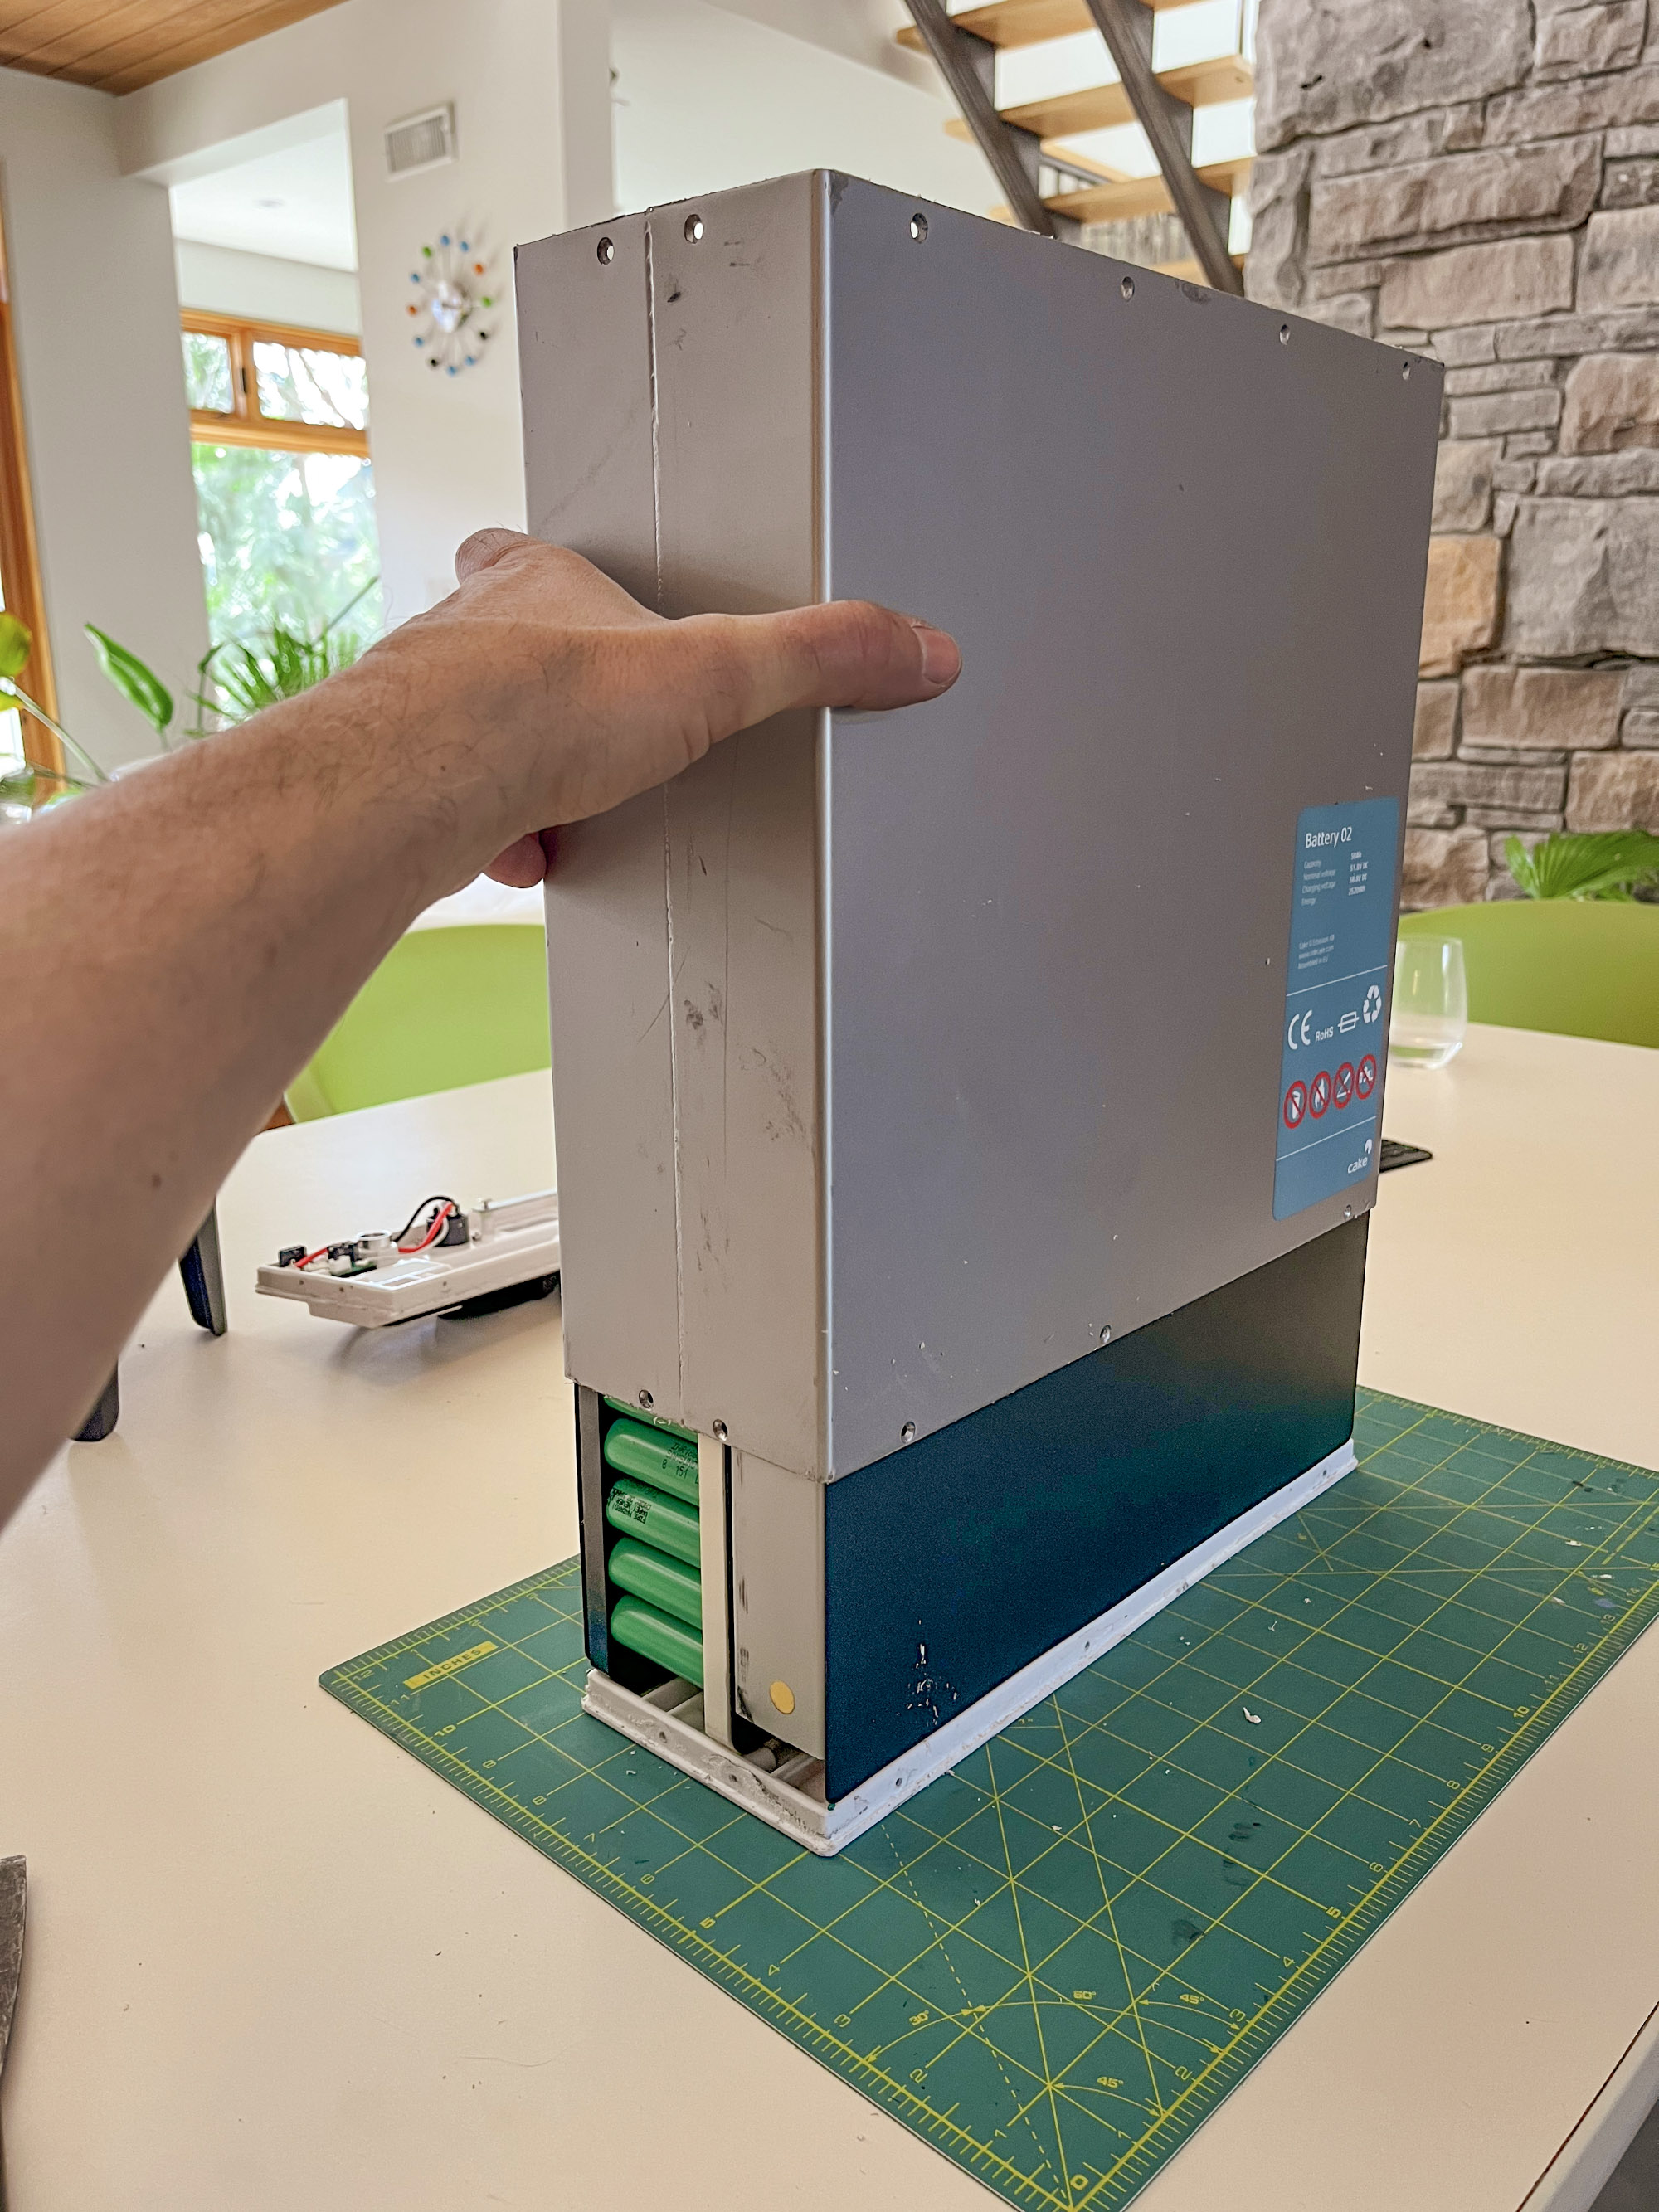
- Once that stage is complete, stand the battery upright and with the battery decal facing you, carefully lift the cap with the goal to have it release and tilt away so that you’ll see how it connects inside the battery
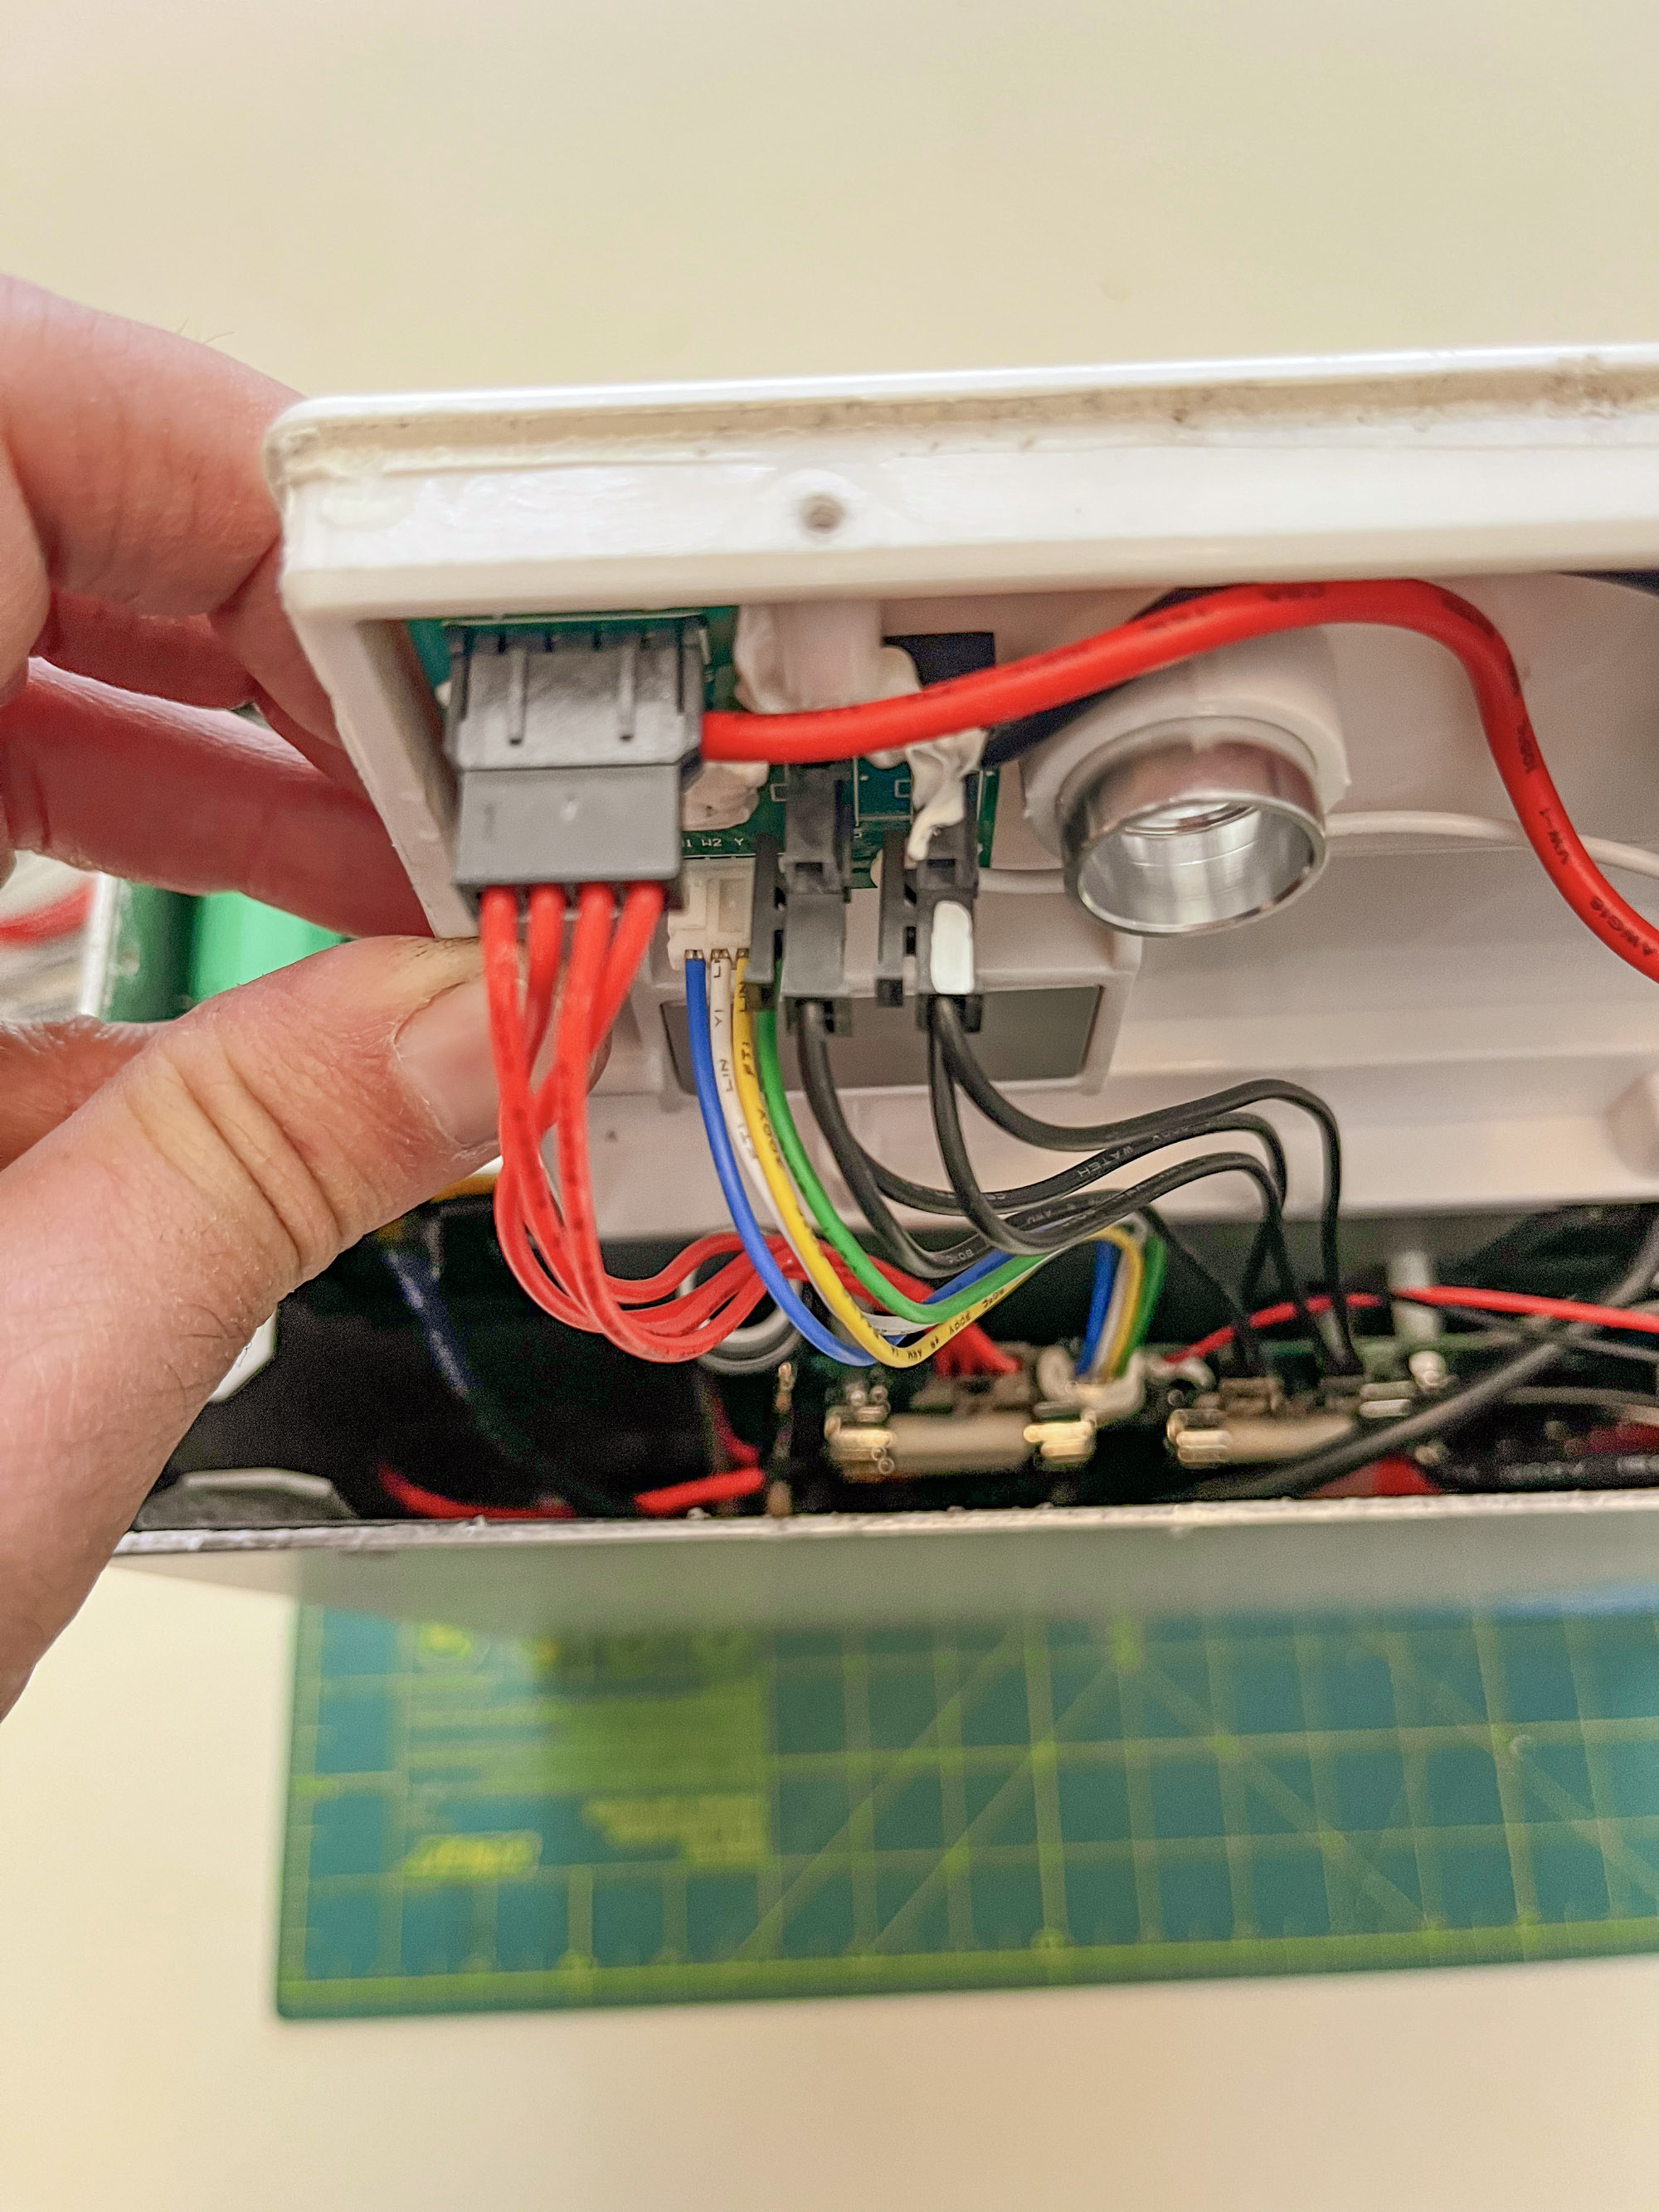
- Release/disconnect the cables to the various lid/cap components, leaving the battery’s display for last
- Do not disconnect the wires from that display, rather, loosen its securing screws and slide it out and slip it into a small ziplock bag or plastic protection so as to protect it from falling into the battery at this stage and potentially crossing contacts or getting knocked around
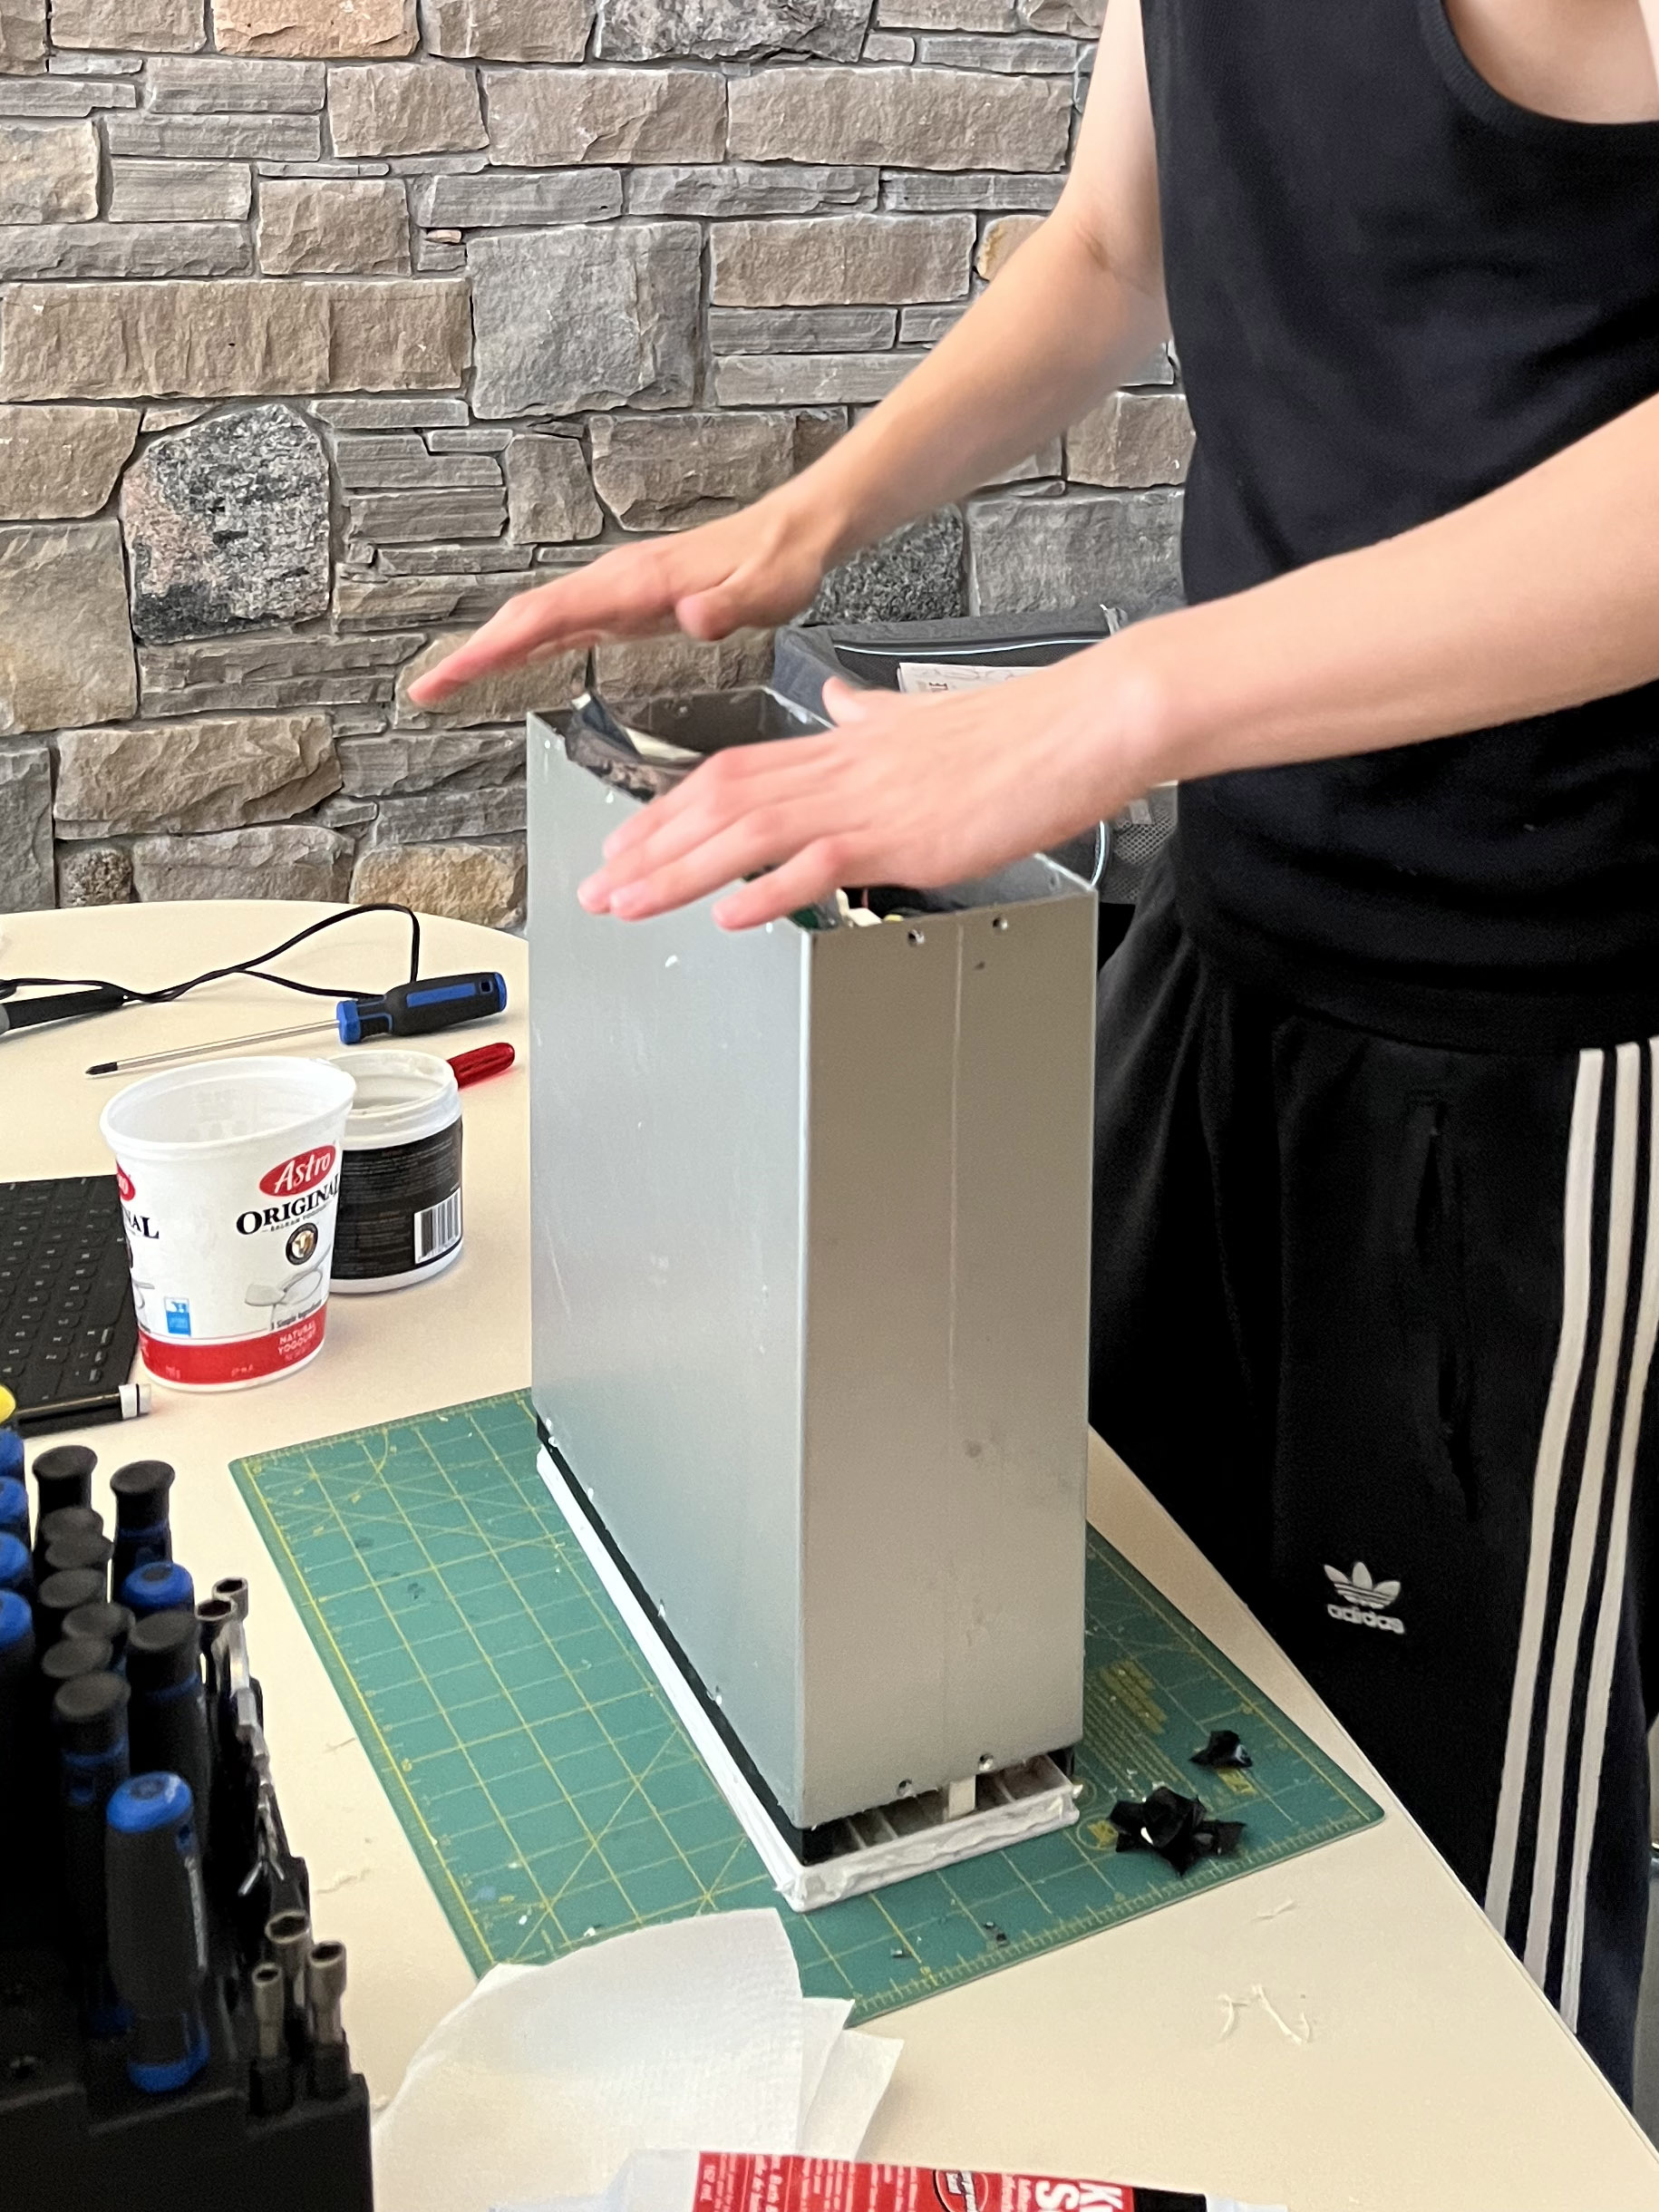
- Once it’s protected and released from the lid, the lid comes off
- Now the aluminum case will easily slide up, tearing from the remaining silicon glue on the base
- Note that my battery interior was not firmly connected to the base so take care not to knock it over or separate the guts from the base
- Smooth sailing from here

¶ Once Inside
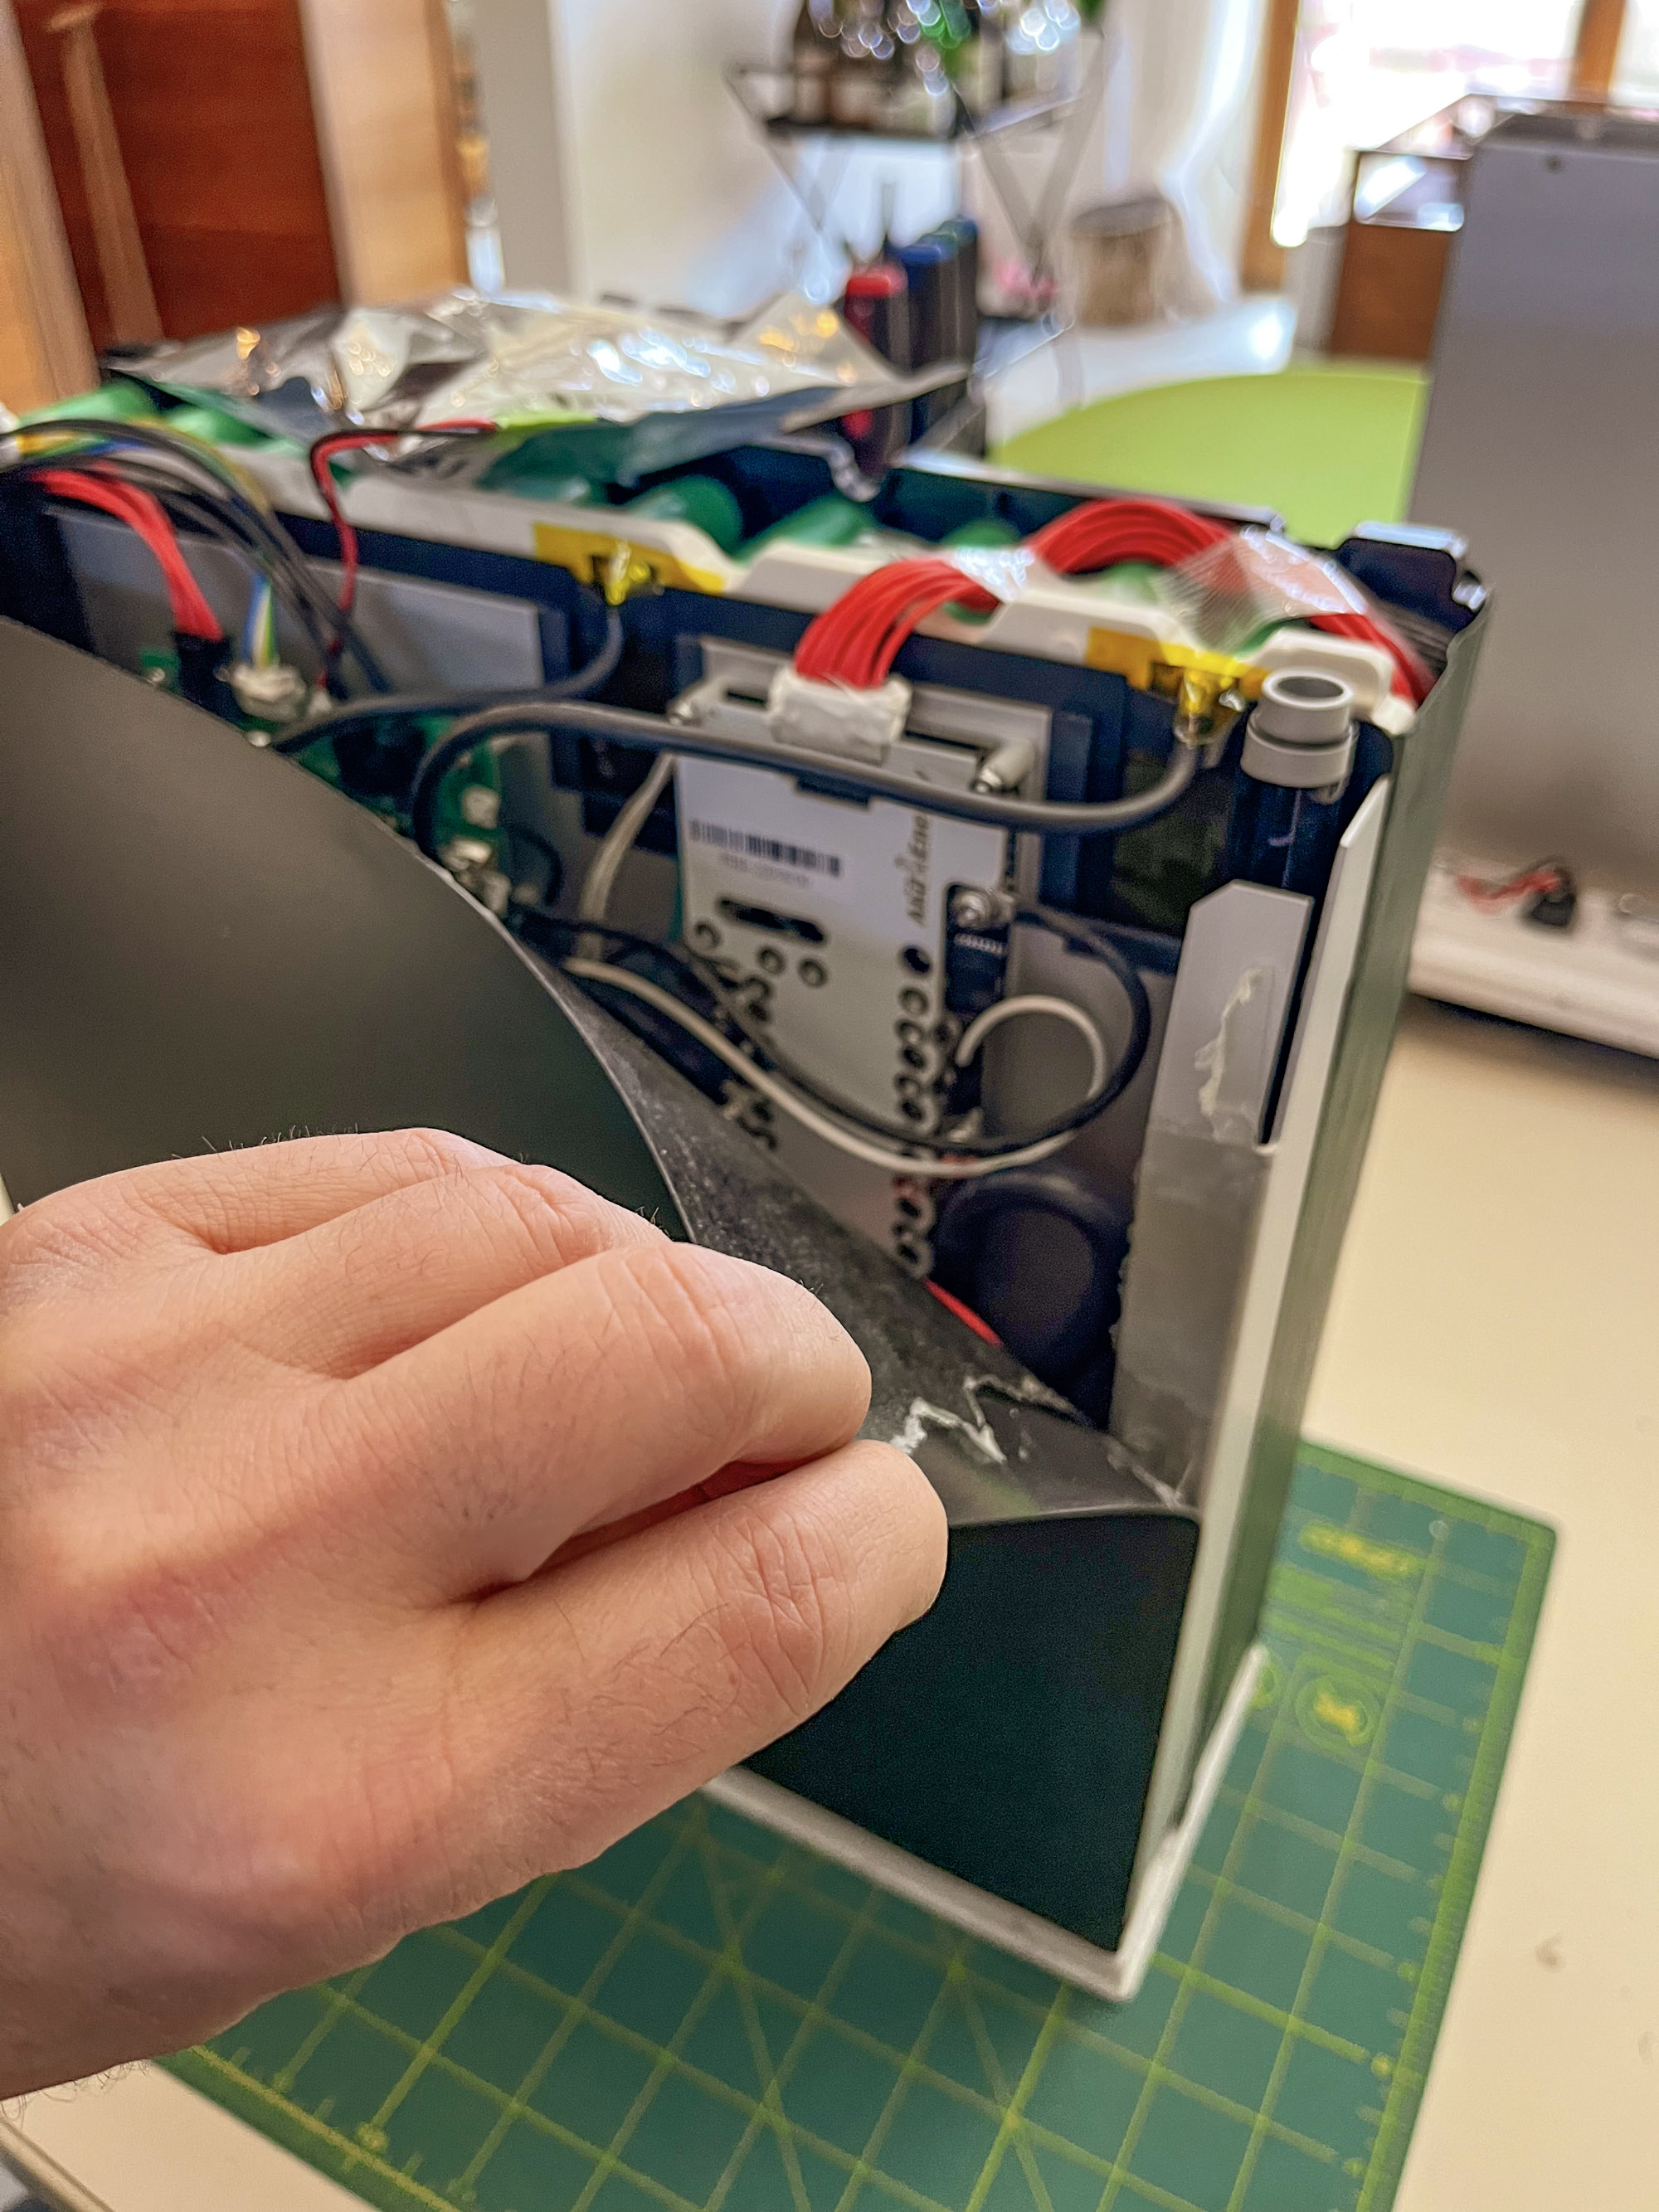
- Peel off the black protective plastic panel and put aside to preserve the adhesive tape (apply more 2 sided tape if you have it)
- disconnect the cable at the top of the BMS
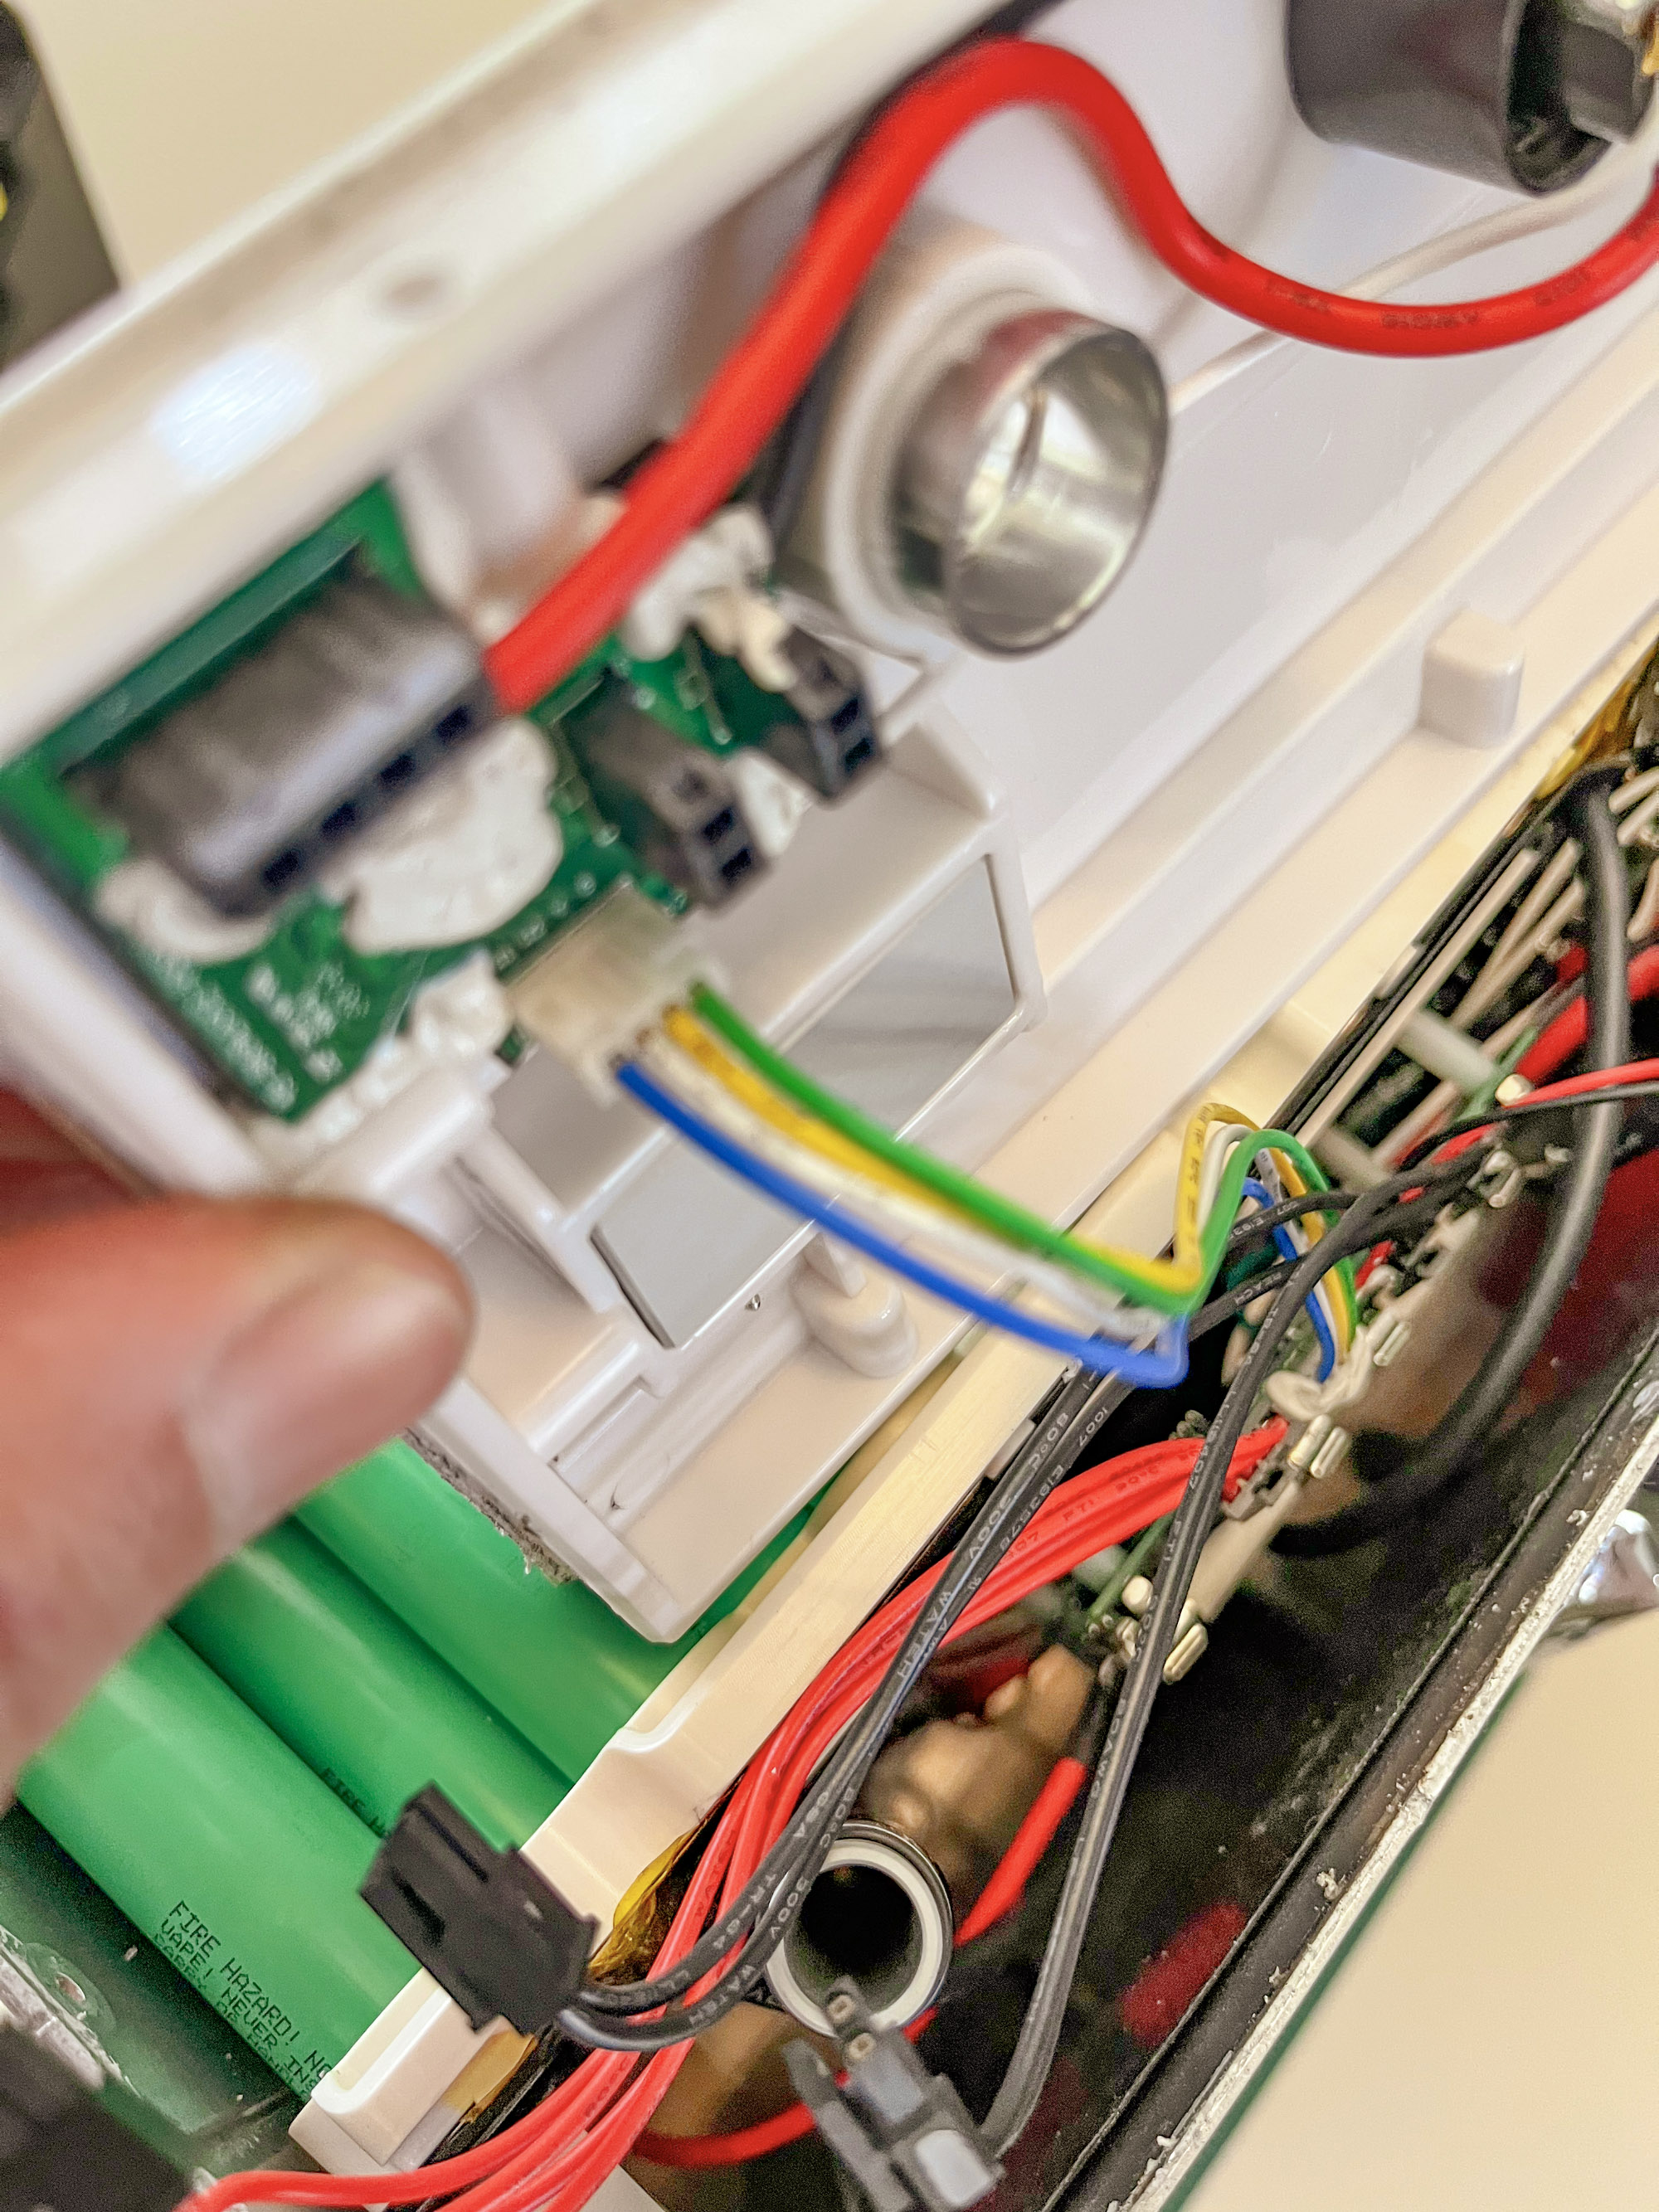
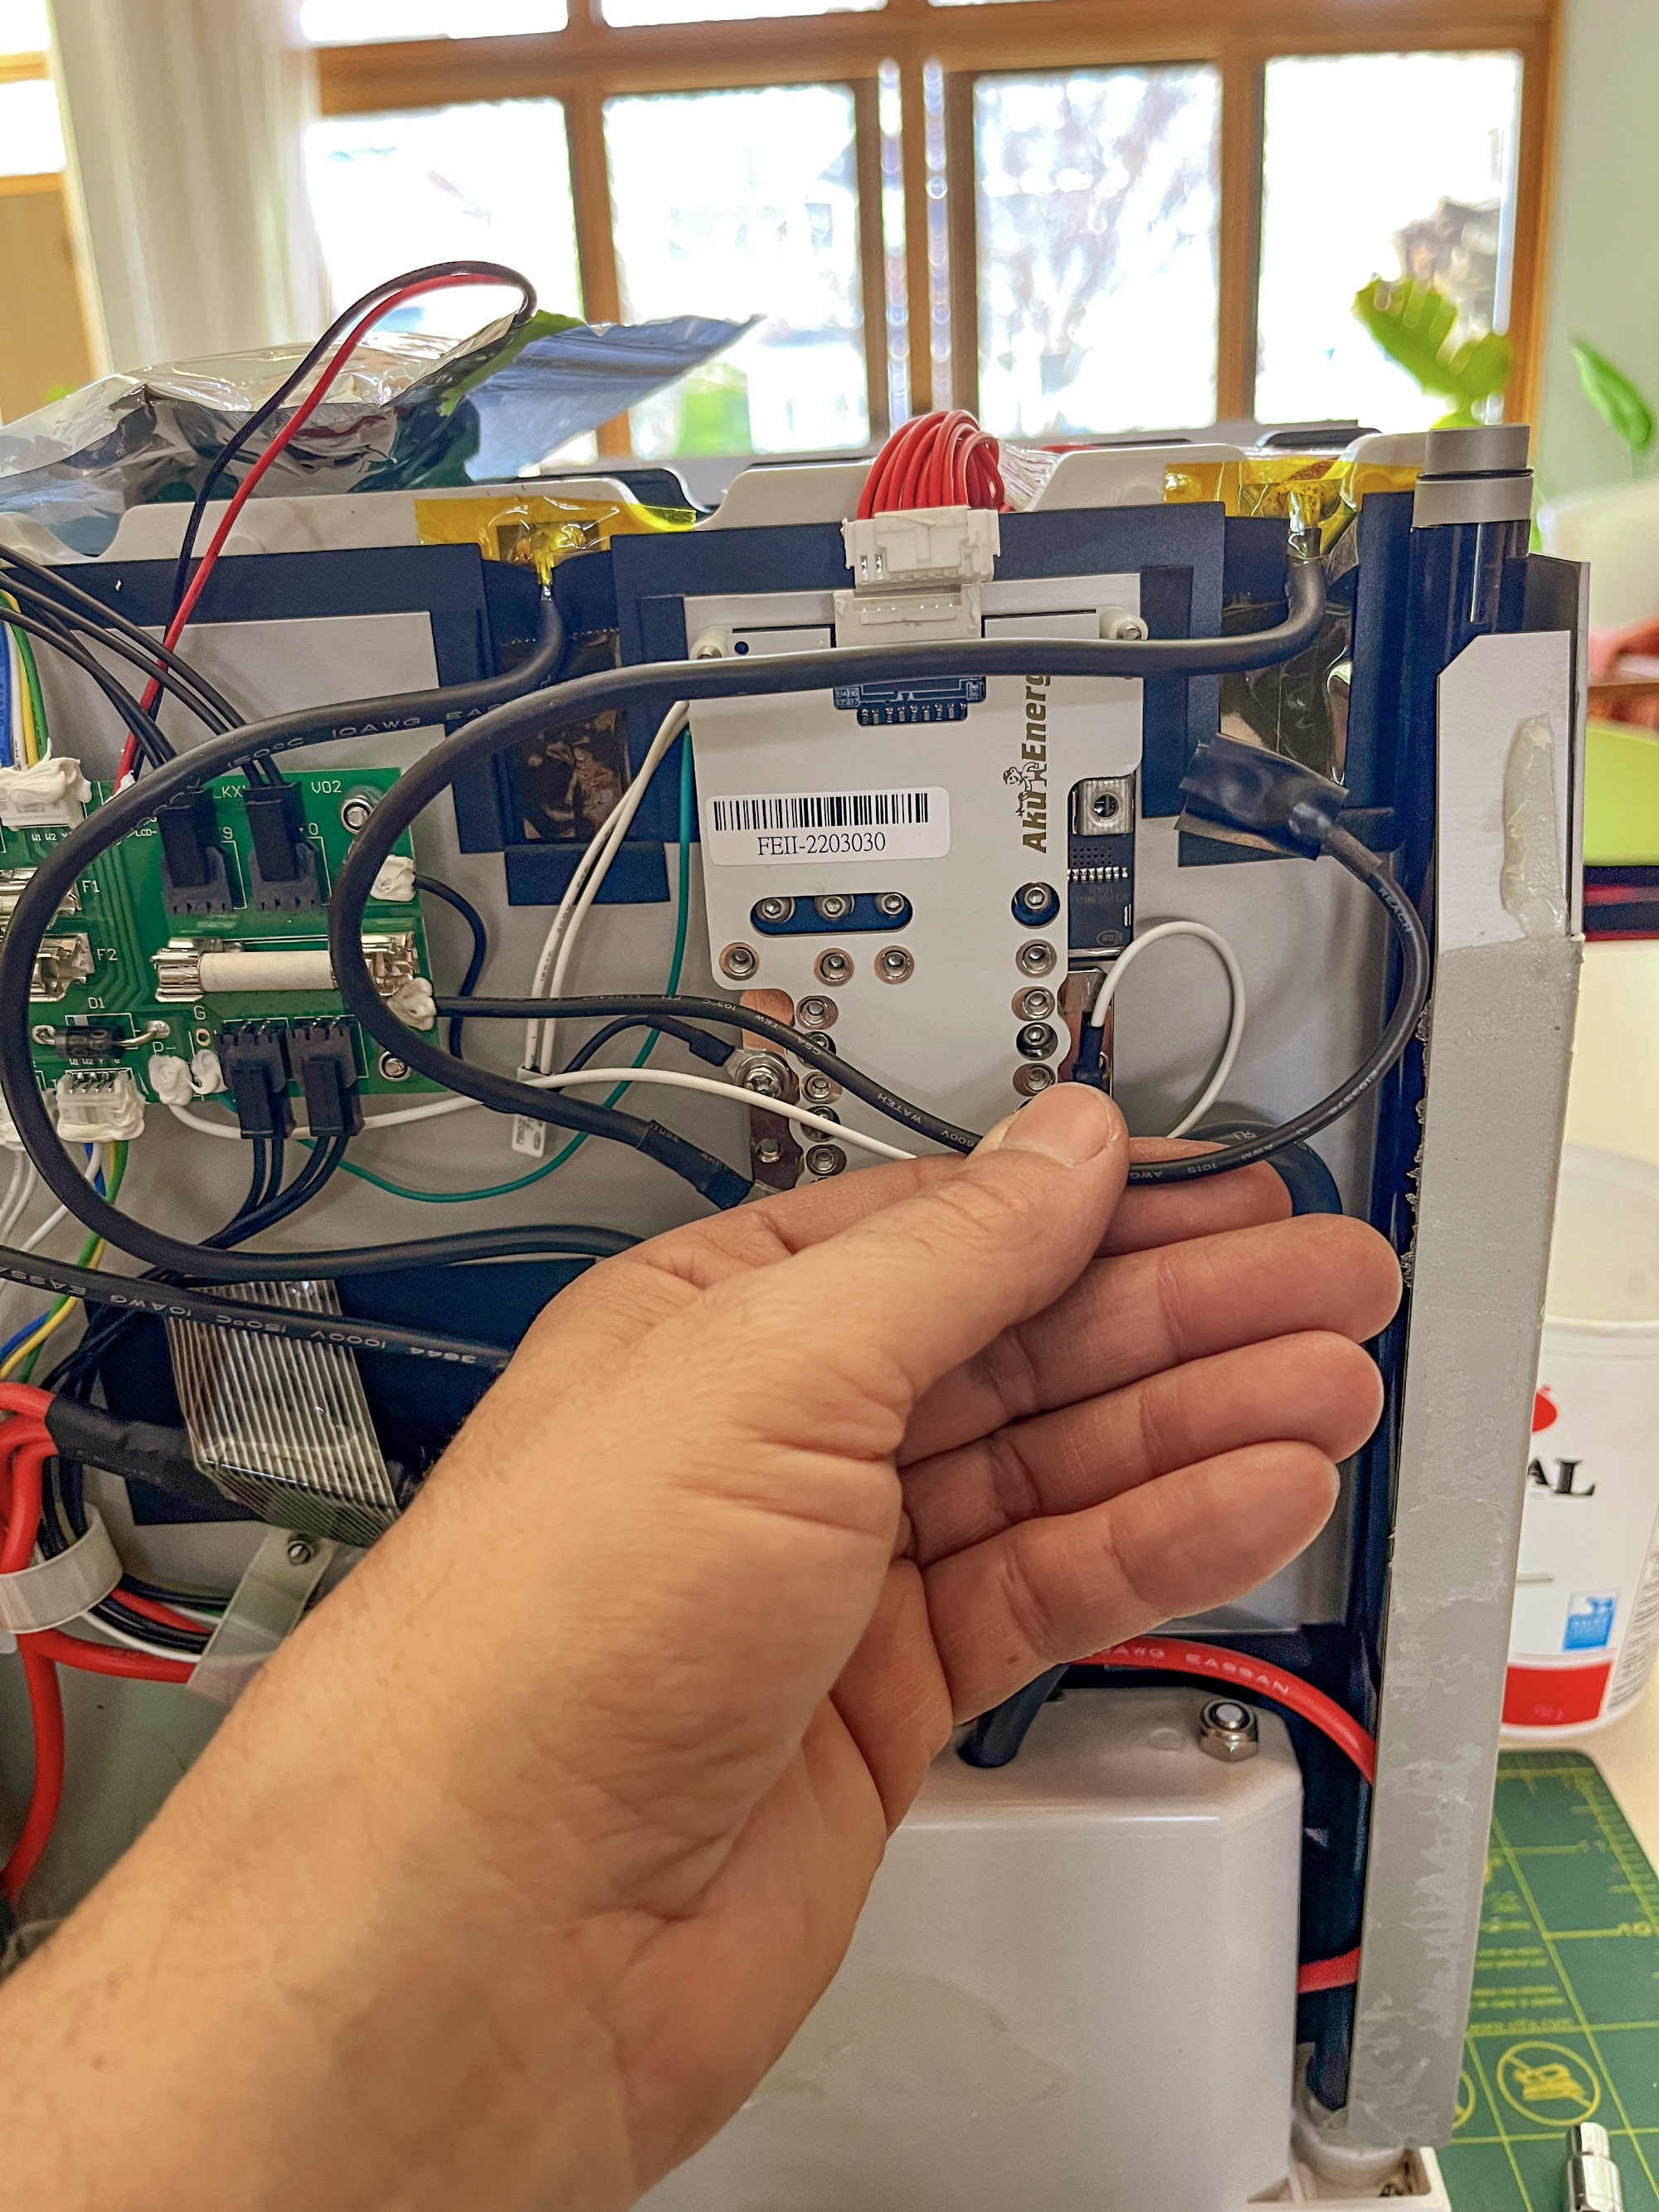
- Next, identify the green wire from the BMS to the battery’s circuit board
- Snip the green wire at its middle or alternatively use a soldering iron to release it from the battery’s circuit board where it connects from the BMS
- Take a pic of the wiring layout and then unscrew/remove the wires connected to the BMS’s sides, wrapping the end of each released wire with electrical tape as a precaution
- Remove BMS’s mounting screws and pull out BMS
¶ At this stage you can reverse your path
- install new BMS and wiring as per your photo
- solder/splice the green wire to the new green wire and protect with heat shrink tube or re-solder to the circuit board where the previous wire was removed
- when it’s all back together, apply silicon sealant to the top and base around the perimeter so that the battery will be sealed from water
- a few Kalk owners have mentioned water infiltration or condensation build up in their batteries, so sealing it to keep it dry might be a good idea